Getting started with Grida - with Figma
Let’s start building single source of truth for Design & Development. Grida is an open-source Design2Code software. You can combine design & development environment along with UI Development automation.
Importing your Design
Before we start, you need a prepared design. If you don’t have one, you can duplicate this file. (Figma account is required, You can duplicate by pressing “Duplicate” button on top right corner)
Option1. Importing via Plugin
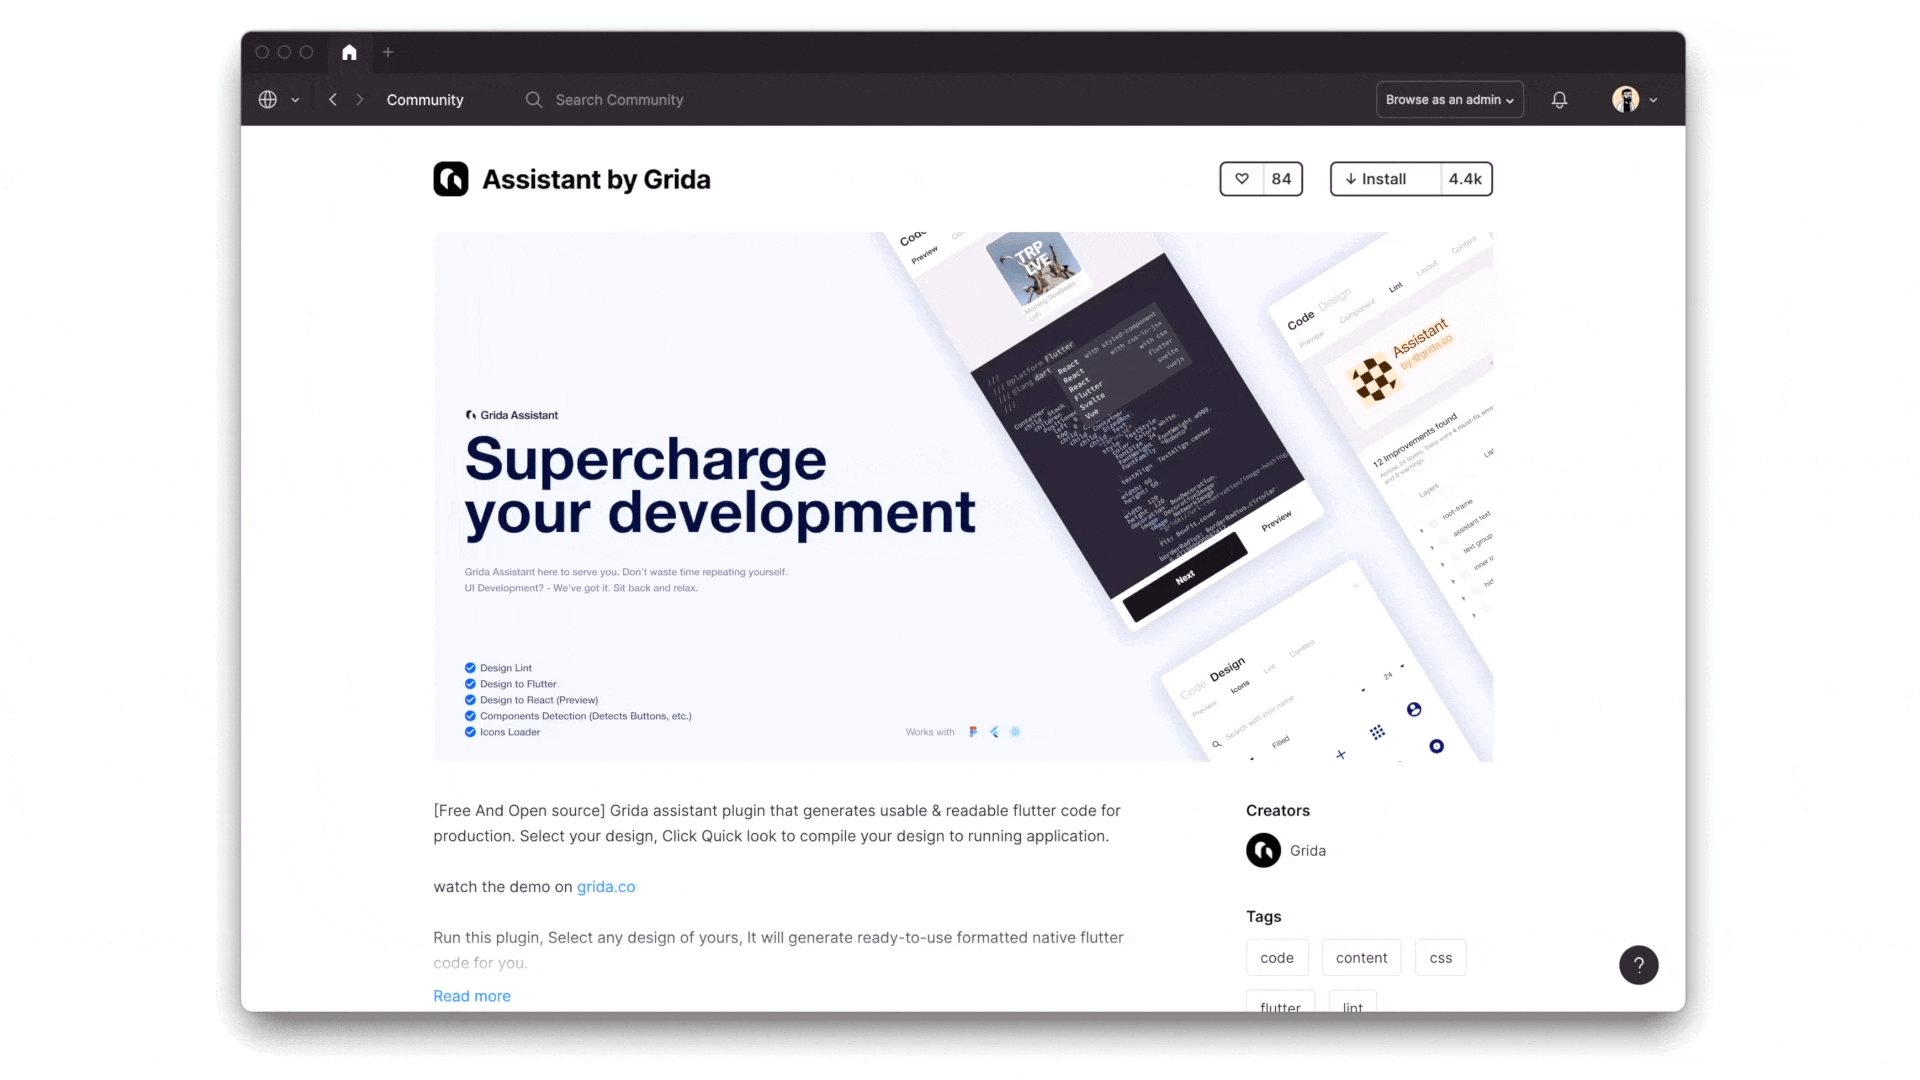
There are 2 ways importing your design. The first is to use Grida plugin named “Assistant”. You can install the plugin here. (Figma account is required) Once you install, navigate to Plugins - Assistant by Grida to run the plugin.
Can’t run the plugin? Figma requires write access to the file in order to run the plugin. You can request your team manager to assign editor role to you. Otherwise, you can always duplicate above example file to make your own file.
After you run the plugin, select the design you want to import, and press Next. Signin required on this step.
Option 2. Import directly from Grida
The second option is to import your desifn directly from Grida. First, visit grida.co.
You’ll see a Input for your figma design url. Enter the URL of the design. (Figma Account authorization is required)
Can’t import the design? Check if the Figma account you’ve authorized have the read permission to the design url. Even if you can view the file, you still need write permission to import it via the URL. (Figma Won’t allow it)
Congrats. You’ve imported your first design. In the future, You can import new deisign or update the design with the same way.
Next - Improve the quality
Do you see the Lint warning? This is because usually new design requires to be polished before we can generate high quality code. Importing design without ant linting will give you poor-quality-code; you won’t be able to use for the production.