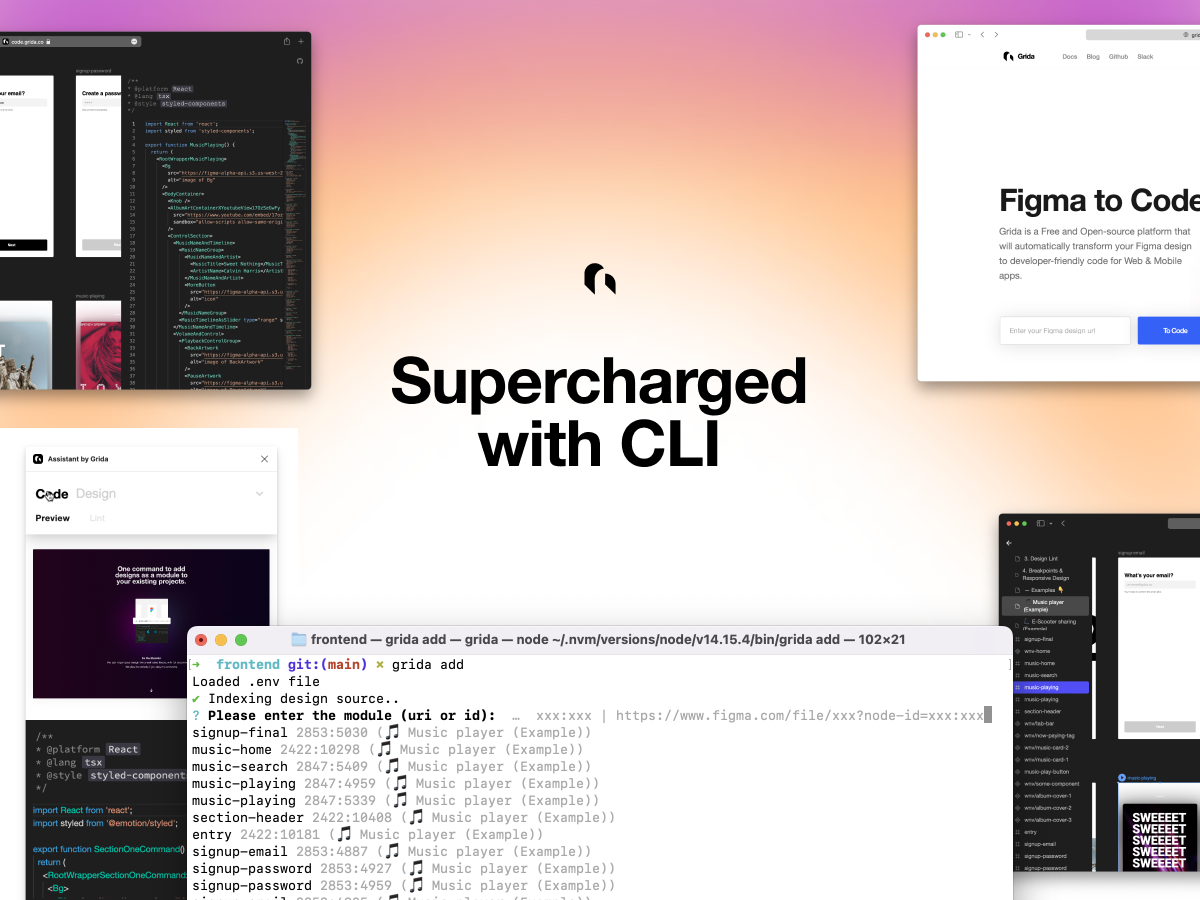
CLI

Grida CLI is a package manager for design, that enables you to add designs like a module to use directly from your code. In advance, you can use Grida CLI to create a CI/CD pipeline for your design-production workflow.
Install CLI
npm i -g grida
Note: It is recommended to install Griad CLI inside a project (instead of globally) -
yarn add --dev gridaornpm i --save-dev grida.
grida init
Fisrt, you need to initialize your project with grida init.
grida init works for both empty project and for existing project.
If you don't have a existing node project (react, rn, svelte, ...) (with package.json) or dart/flutter project (with pubspec.yaml), grida will prompt you to create a new project.
Starting from scratch (no existing project)
You'll get the message below if you run grida init under empty directory with no project root.
\$ grida init

> No project root is found (package.json or pubspec.yml) with framework configuration. Do you want to continue without creating a project? (y/N)
- No (default) - grida will walk you through to create a new base project.
- Yes - grida ignores the base project and continues with the initialization. (this make break the configuration afterwards. not recommanded)
1. Design source configuration
Once init is complete, you'll be prompted to configure the design source like below.
> Where from to import your design? : figma
> Please enter your figma file url : https://www.figma.com/file/xxx
> Please enter your figma personal access token.: ******************
- origin : The provider of your design (figma, sketch, ...)
- file : The unique identifier or file path to your design.
- token (for figma) : A personal-access-token for grida cli to read your design (readonly).
2. Framework configuration
Once the design source configuration is complete, you'll be prompt to configure settings for your framework.
The promps & specs vary by frameworks, you can see each configurations at @grida/builder-config.
You may follow the cli prompts to configure your project. You can edit this manually in grida.config.js once the init process is complete.
React example of framework config
/**
 * @type {import('@grida/builder-config').FrameworkConfig}
 */
const frameworkConfig = {
  framework: "react",
  language: "tsx",
  component_declaration_style: {
    exporting_style: {
      type: "export-named-functional-component",
      declaration_syntax_choice: "function",
      exporting_position: "with-declaration",
    },
  },
};
Project structure
Once project setup is complete, you'll see you project tree organized like below.
For example, NextJS
...
├── .grida             (created)
├── .env               (modified)
├── .gitignore         (modified)
├── README.md
├── grida              (created)
│   └── .gitkeep       (created)
├── grida.config.js    (created)
├── next-env.d.ts
├── package.json       (modified)
├── pages
│   ├── _app.tsx
│   └── index.tsx
├── public
├── styles
├── tsconfig.json
└── ...
For example, Flutter
...
├── .grida                   (created)
├── .env                     (modified)
├── .gitignore               (modified)
├── README.md
├── analysis_options.yaml
├── build
├── flutter_app.iml
├── grida.config.js
├── lib
│   ├── grida                (created)
│   │   └── .gitkeep
│   └── main.dart
├── pubspec.lock
├── pubspec.yaml
├── test
│   └── widget_test.dart
├── web
├── macos
├── ios
├── landroid
├── linux
├── windows
└── ...
grida add
grida works like a package manager that you might already be familiar with. The syntax is,
grida add [modules...]
# use project configuration
grida add
# add specific design module
grida add <modules...>
Running grida add without arguments
Running grida add without any arguments will prompt you to select a design module to add. This is automatically managed by grida cli. but this is not recommended since idendifying your design with its name may cause human errors.
Adding package
grida add <module>
Adding package with figma url
You can import target design with, grida add <figma-url>.
If the givven figma url points to entire file or a page, You might be importing tons of modules at one time. It is recommended to use frame-level url instead.
$ grida add https://www.figma.com/file/x7RRK6RwWtZuNakmbMLTVH/examples?node-id=2422%3A10181

# or you can add with id only (the target should be a node that is inside the file you have in grida.config.js)

$ grida add 2422:10181
The added package will be added to /grida or /lib/grida (for flutter) by default, unless you have additional configuration.
You are now good to go with your main working file, and import the added module.
So for example (react), In your pages/index.tsx, you may import like..
import { NewModuleFromFigma } from "../grida/new-module-from-figma";

export default function() {
  return (
    <>
      {/* ... */}
      <NewModuleFromFigma />
      {/* ... */}
    </>
  );
}