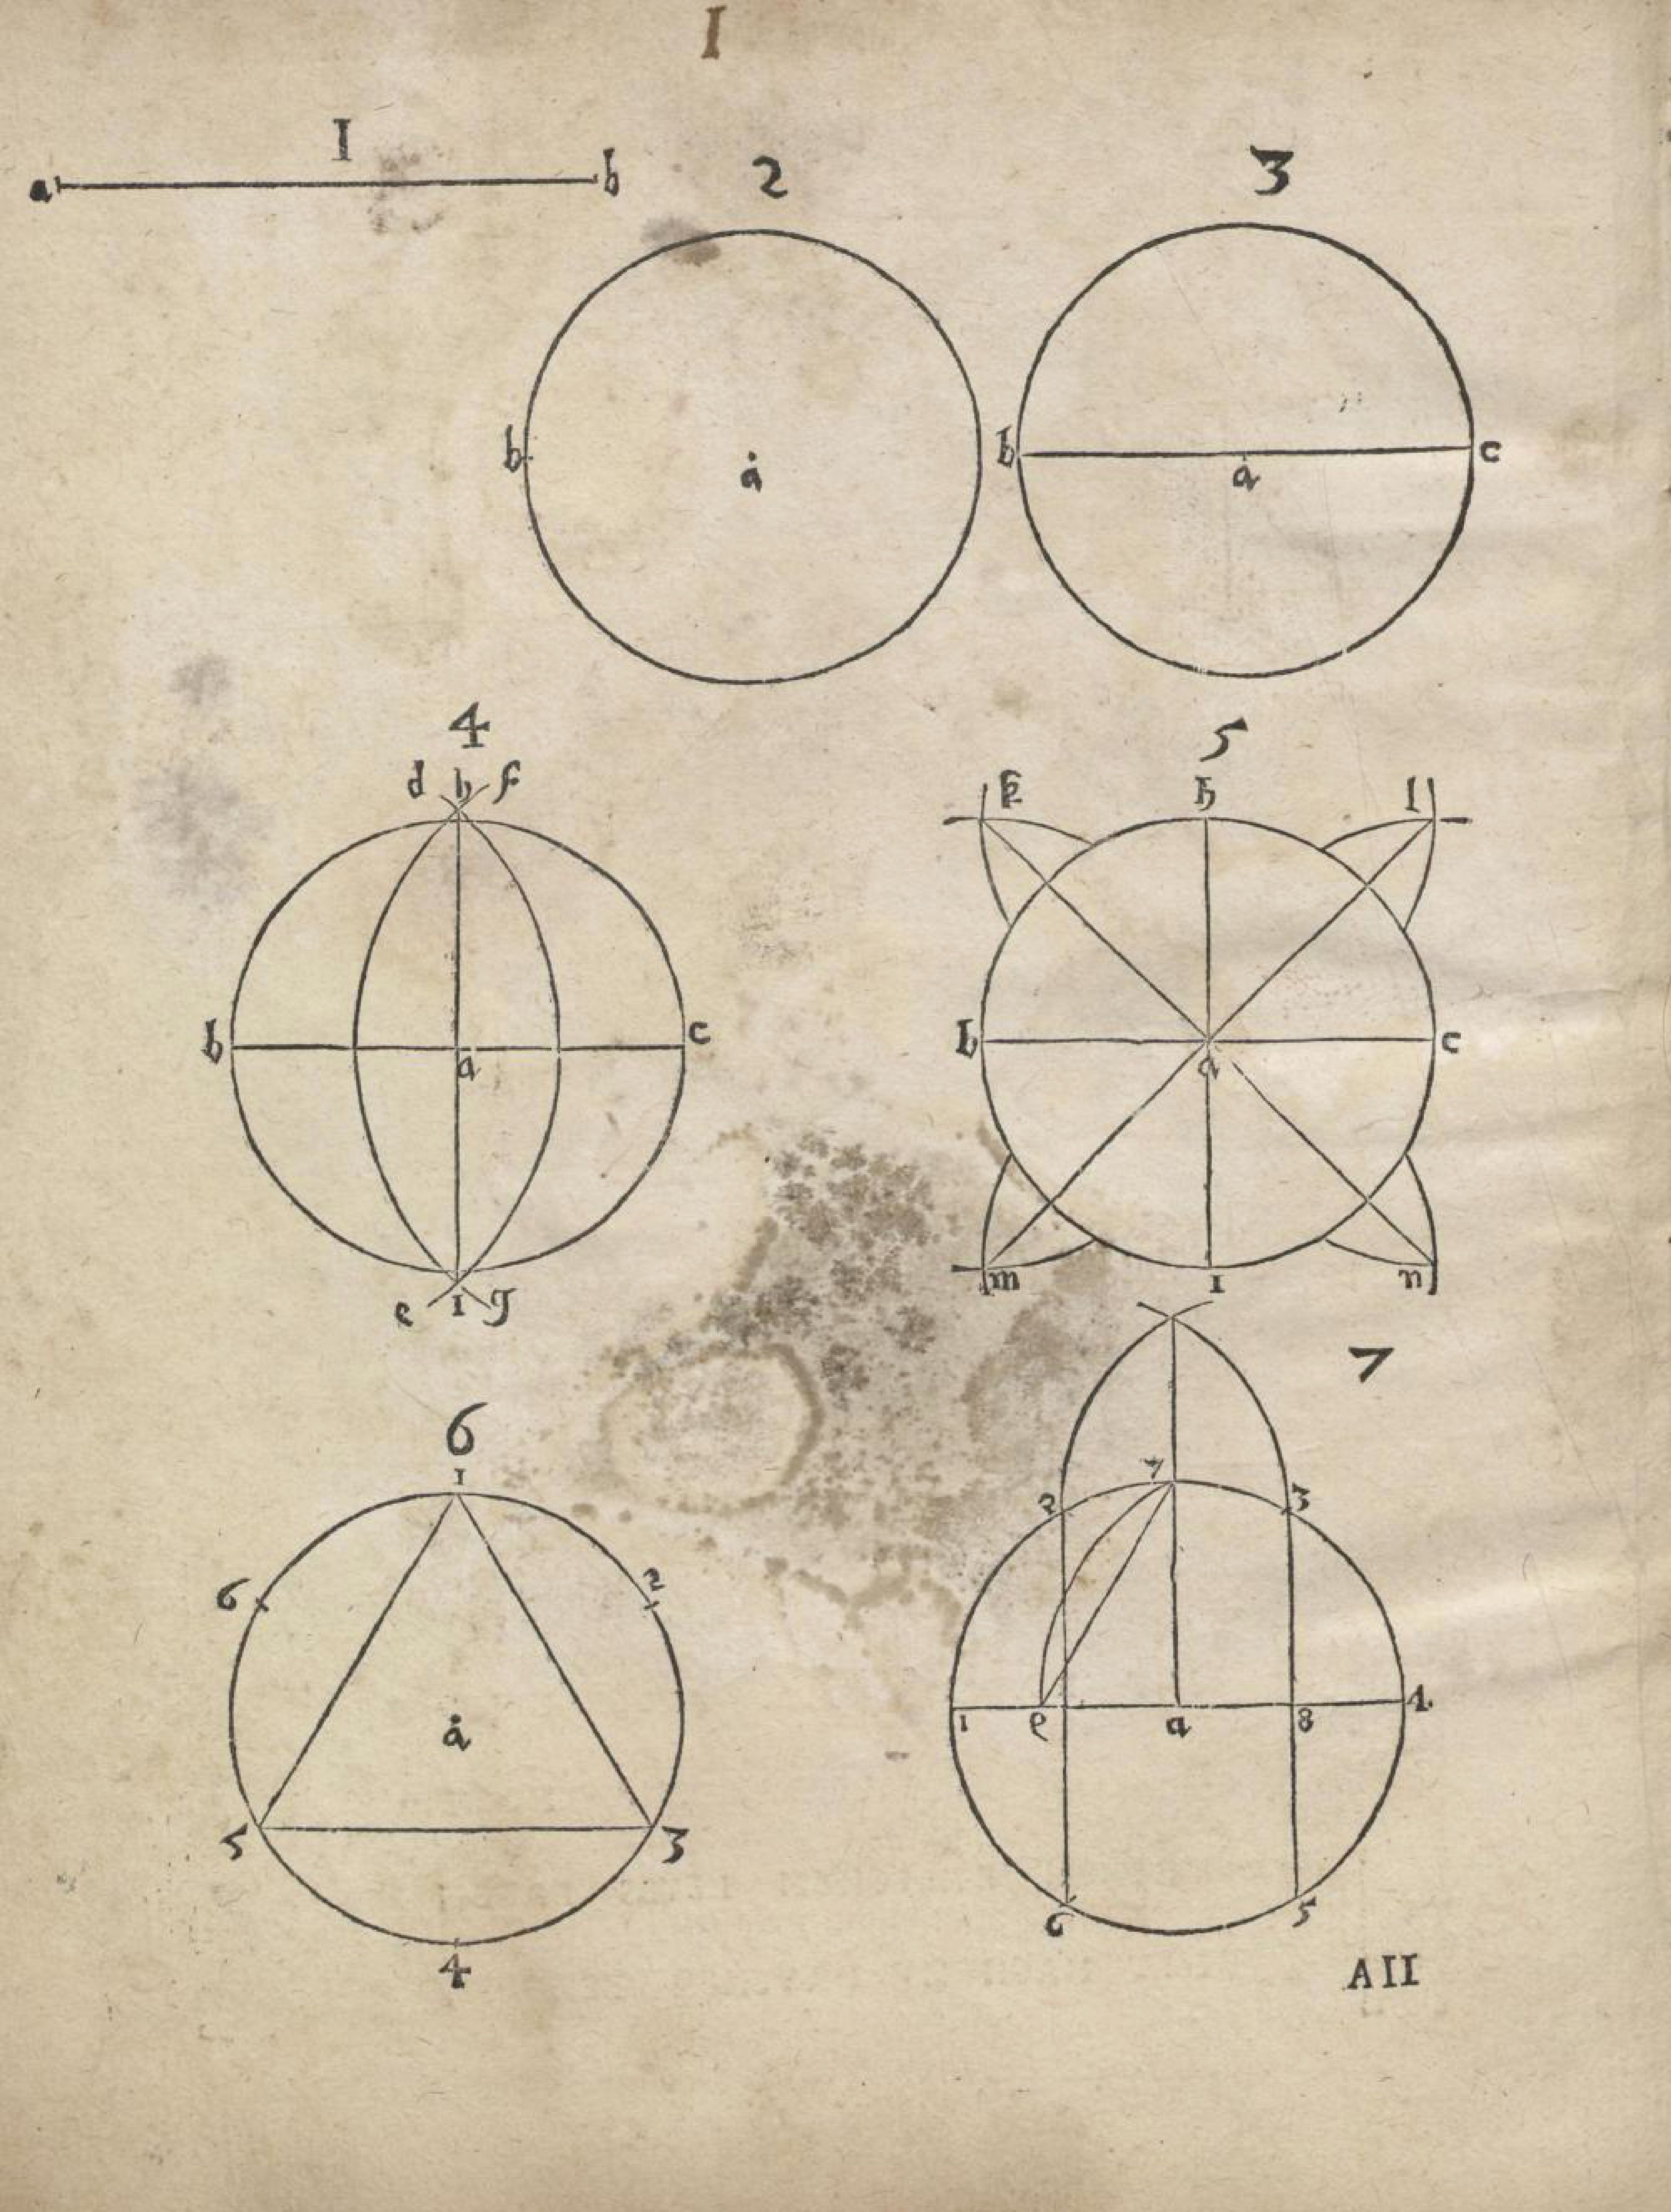
The image is a vintage, sepia-toned diagram with seven circular illustrations arranged in a grid-like pattern. The paper has aged, with visible stains and discoloration, particularly in the center. Each circle contains geometric constructions with lines and labeled points. Here's a breakdown of each circle: 1. **Circle 1:** A simple circle with a point 'a' in the center and a line segment labeled 'b' extending from the top. 2. **Circle 2:** A circle with a horizontal line segment labeled 'a' passing through the center, and points 'b' and 'c' marking the ends of the line. 3. **Circle 3:** A circle with a vertical line segment labeled 'a' passing through the center, and points 'b' and 'c' marking the ends of the line. 4. **Circle 4:** A circle with intersecting lines forming a cross, labeled with points 'a', 'b', 'c', 'd', 'e', and 'f'. 5. **Circle 5:** A complex circle with multiple intersecting lines radiating from the center, labeled with points 'a', 'b', 'c', 'd', 'e', 'f', 'g', 'h', 'i', 'j', 'k', 'l', 'm', and 'n'. 6. **Circle 6:** A circle containing an equilateral triangle with vertices labeled '1', '2', and '3', and a point 'a' in the center. 7. **Circle 7:** A circle with a polygon inscribed within it, labeled with points '1', '2', '3', '4', '5', '6', '7', '8', '9', 'a', 'b', 'c', 'd', and 'e'. Above the grid, the number 'I' is written. Below the grid, the Roman numeral 'AII' is written. Each circle is numbered from 1 to 7. The overall impression is that this is a page from a mathematical or geometric treatise, likely dating back several centuries.